


Photography, an ancient art that has existed for nearly 200 years, has had a long history, from camera obscuras to Kodaks and Polaroids, and now to the modern cell phones of today. Photography today is a well-respected category of art through which people express their artistic freedoms. As cameras have further improved, we have gotten to the point where anyone can have a practically instant, shoot-and-run camera built into their mobile phones. Even with all these cool features in the iPhone, though, you may come across others’ photos and think, how can I improve my photos?
Exposure Lock
Although just pointing a camera at something and snapping a quick picture can be very easy, the iPhone includes many features that can be used to adjust the photo composition. One such feature is the exposure lock, which you can activate by holding the screen until the sun icon pops up. This sundial represents the photo exposure, which is the amount of light that is allowed into the photo. But wait, you can even go to hold the sun icon down, and scroll up or down on it to adjust the brightness of the photo overall. Through this feature, you can even take photos of the moon.
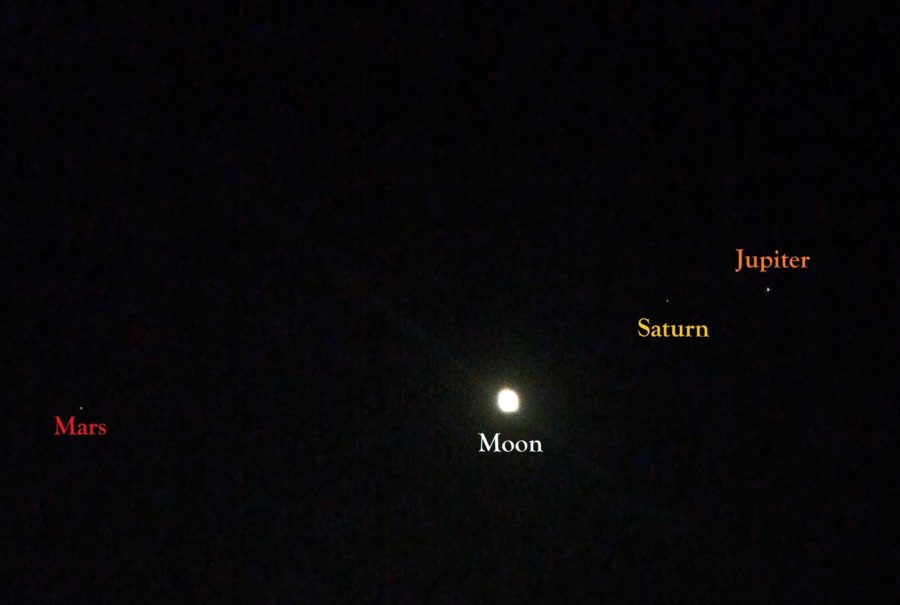
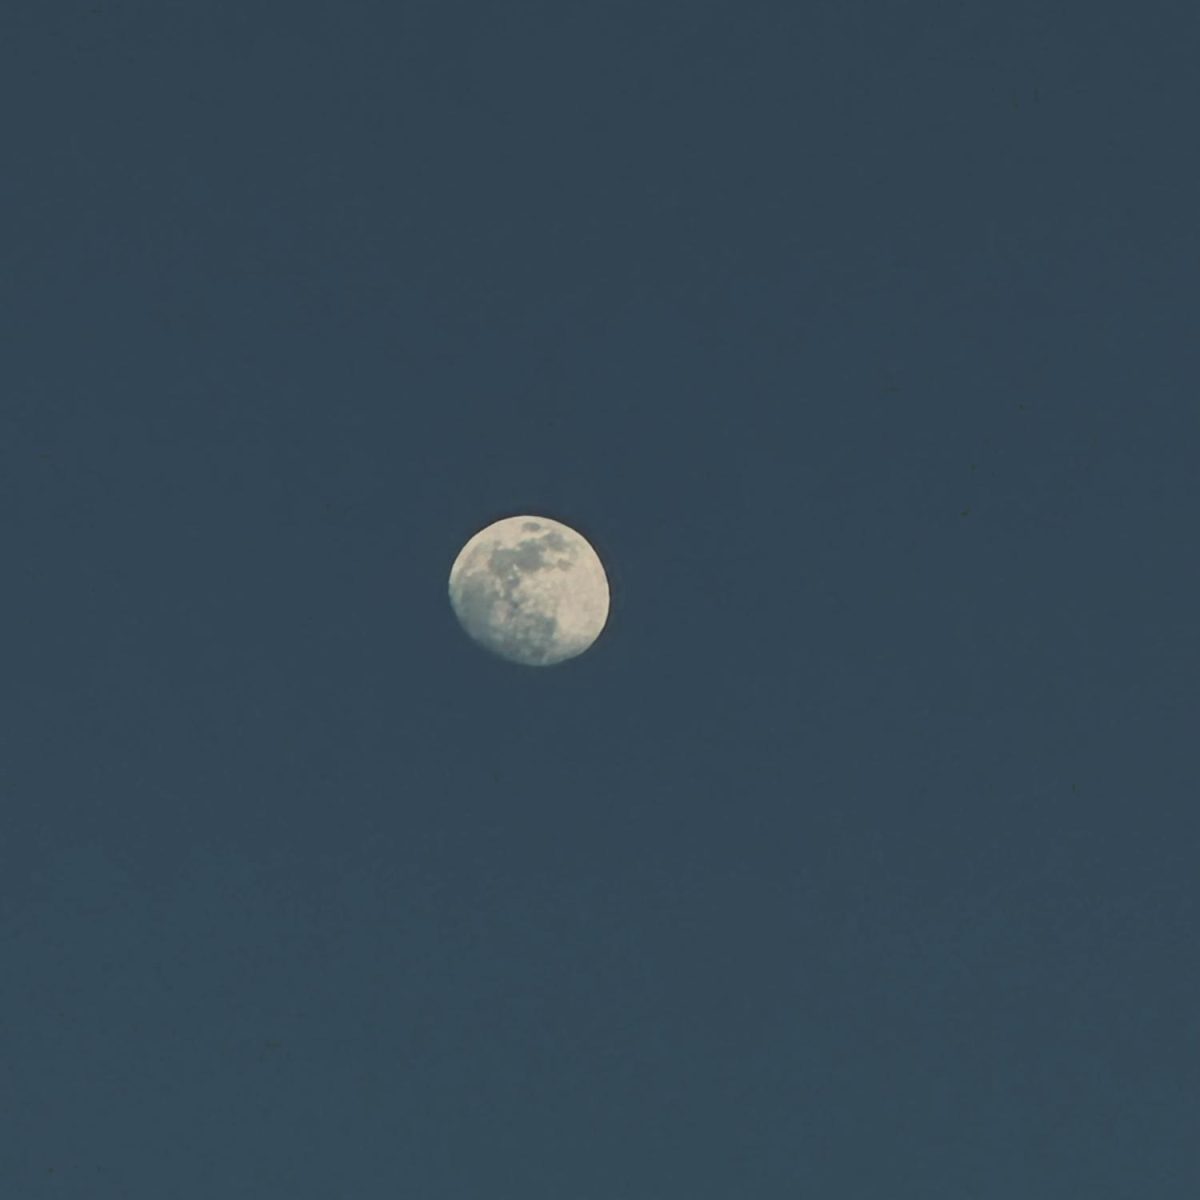
In my personal experience, taking photos of the moon may at first seem challenging, as it requires you to follow a strict set of steps. By pointing your camera straight at another BRIGHT light source, specifically something like a street lamp, you should zoom in to just the light portion, and exposure lock it by holding down the screen until you see the sundial lock. You can then bring the sundial down a little, point your camera to the moon, and adjust the sundial until you can see the moon clearly in your iPhone camera. This, however, works best in darker outside settings. Some other factors such as light pollution, altitude, and location may heavily affect the clarity of the image. Along with these steps, you must also factor in the fact that some pictures may be blurred due to camera instability.
Moon Pictures
Many of you probably have seen this feature at night, where the camera holds up a yellow plus sign for about three seconds. You’ve probably seen it stay on the lens for about five seconds, but maybe what you don’t know is that it can go up to 20 seconds. This works only at night or in dark lighting conditions, and it’s probably only achievable through the use of a tripod, due to the risk of shaky hands ruining the image.
Other Exposure Settings
You are able to preset the amount of light let into the photo by pressing the down arrow at the top, and making your way over to the (+-) sign. This will let you adjust the amount of light in your photos before you lock your exposure or shoot the photo. Exposure locking can be helpful in conditions where the light is too bright as it lowers the light around that certain point, but this feature also risks reducing the light of the image.
Timer
One big feature you all may already use is the timer, which can be helpful in shooting pictures of yourself or a big group of people without a shaky result.
Burst Mode/Volume Button
All iPhone users out there, I’m sure you’ve all experienced the shock of shooting about 20 pictures in a burst while trying out your camera for the first time. Burst shots like these quickly take many shots on your phone and save the images into one small file, where you can then choose the best photos from that section. In newer iPhones like the iPhone 15 Pro, holding down the picture button and scrolling to the left can bring you to those same burst shots again.
It is also possible to achieve the same effect by pressing the side volume button on the main Apple camera.
Settings
Going into your iPhone’s settings and searching up “camera” may lead you to discover some cool features such as ProRaw, which is installed in iPhones 12 Pro or newer. ProRaw, once turned on, appears as a small button at the top of the screen, which can then be clicked on. This feature allows the photo to be shot in RAW format, meaning that it has all the original data and a reduced color which can then be edited to it bring back up again. However, a possible downside to this feature is that RAW photos may take up more storage space than usual.
Some other features I would recommend turning on would be the “grid” button, which can help you frame shots more effectively, along with the ‘level’ feature to see if your camera is straight or not.
Although these tips may prove useful, photos cannot recreate what your eyes can see, as a camera is incapable of producing as many colors as your naked human eye. Putting in the effort to capture the glorious scene in front of you as well as editing the picture may act to recreate a special memory that you deeply treasure.