


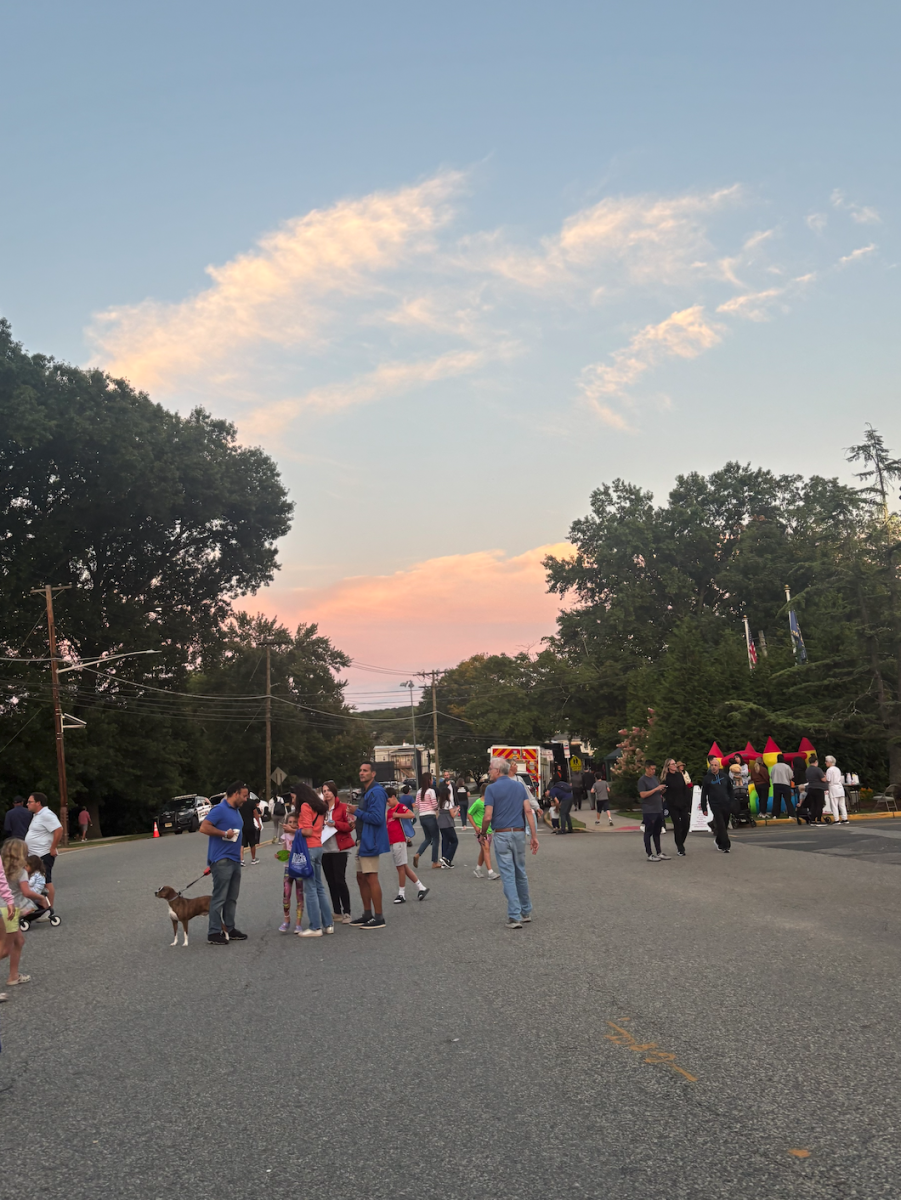


You decide to take a few photos over vacation, and they’re sitting in your camera roll. You look at them, and you wonder what to do with them, thinking to yourself, “Why are other’s photos more popular?” It’s due to a special trick called editing. Some people may believe that editing a photo makes the photo less genuine. However, the biggest mistake people make is not using the iPhone’s editing features to turn ordinary photos into masterpieces.
When photography first started with film photos, many people used darkroom techniques to brush up on small details of the photo and change the color. Back when film was more widely used, it carried small plastic strips lined with silver crystals very sensitive to light. In a film camera, when the shutter is opened to allow the light in, it captures the image, and is then transferred onto paper in a darkroom to capture it. Darkrooms are rooms that can be made completely dark because film strips can be ruined with light exposure. During that process photographers could adjust the colors, similar topost-modern editing techniques, to achieve a desired aesthetic.
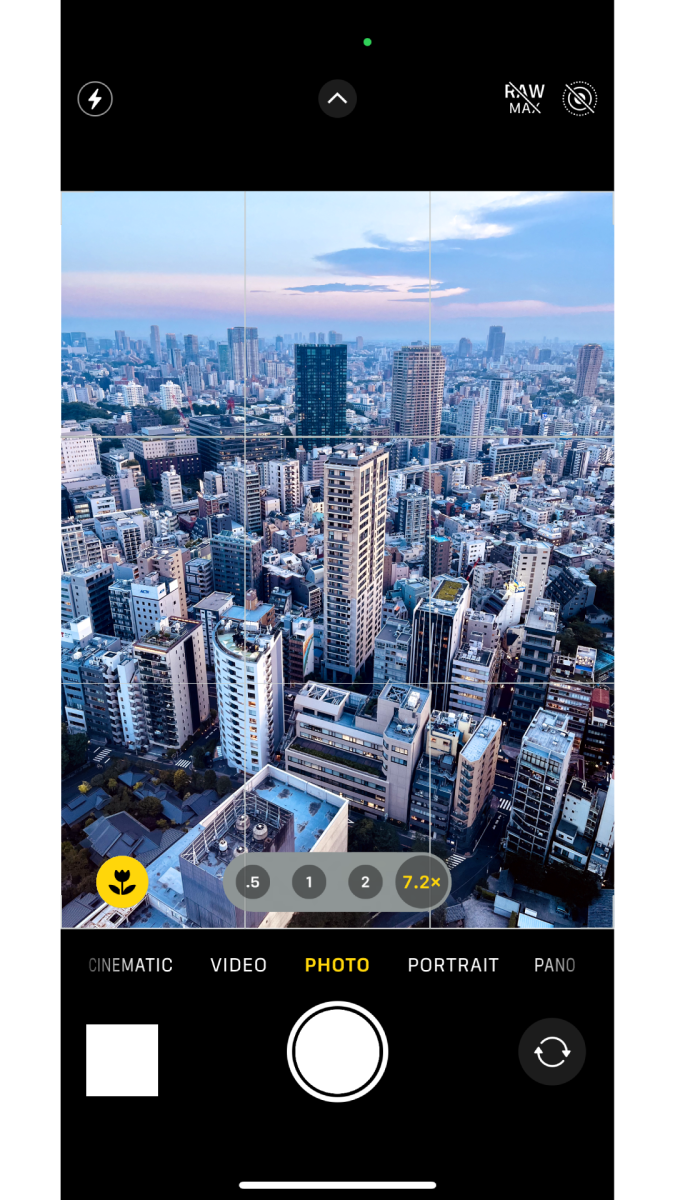
Photo editing today is vastly different as there are now digital options, with a quick snap-and-go editing process. Your phone may also automatically edit your images, unless it’s in RAW format.
In newer iPhones, you can make your way to settings and turn on the Apple ProRaw option, or on cameras, switch your photo settings to the RAW format. The RAW format gives more metadata to your photos, such as colors, contrast, and shadows, but it can make your photos look duller than usual. This is where the editing comes in.
After taking the photo, you can refine it using the iPhone editing settings. The iPhone has many different kinds of settings that allow for a detailed customization of your photos. Here is a list of what each slider does:
Exposure- Adjusts the intensity of the light that had first entered the camera sensor. Especially good for fixing overexposed photos.
Brilliance- Adds more intensity to the photo, such as brightening dark spots or amplifying bright areas.
Highlights- Adjusts only the brightest parts of the photo. You can either make it lighter or darker.
Shadows- Adjusts only the darkest parts of the photo. You can either make it lighter or darker.
Contrast- Changes both the darkest and lightest parts of the photo to increase or decrease the difference between them.
Brightness- Changes the overall brightness of the photo. You can either reduce or increase it.
Black point- Sets the new dark tone for the entire photo, making the darkest parts of the image darker or more faded.
Saturation- Adjusts the intensity of all the colors in the photo, making them more vibrant or more muted.
Vibrance- Changes only shade of the less intense colors to make it more or less colorful.
Warmth- Changes the picture’s tones, making the colors warmer or colder.
Tint- Applies a green or purple tint to the image.
Sharpness- Enhances the clarity of the photo by reducing noise and increasing the detail, making the image appear crisper and less blurry.
Definition- Enhances the vibrancy of colors and slightly increases the contrast to make the image appear sharper and more defined.
Noise reduction- Reduces the noise by applying a slight blur to smooth out graininess and improve image quality.
Vignette- Adds a black or white halo around the photo to make it pop.
Color effects- Can make the image color more cool, warm, or even black and white. Adjust the sliders to change its effectiveness.
Another mistake is if you haven’t already centered everything when first shooting the photo. Use the crop tool, and crop and rotate your image so that the object or whatever angle you used is set up right. Having an object perfectly in the center can bring a sense of harmony to your photos.
Although there are many ways out there to edit your photos, such as using computer applications or other iPhone editing apps, the iPhone itself can produce remarkable results. The iPhone’s editing features offer a convenient and powerful way to enhance your photos directly on the device the photos were taken, allowing for quick and impressive results without the need for additional software or apps.